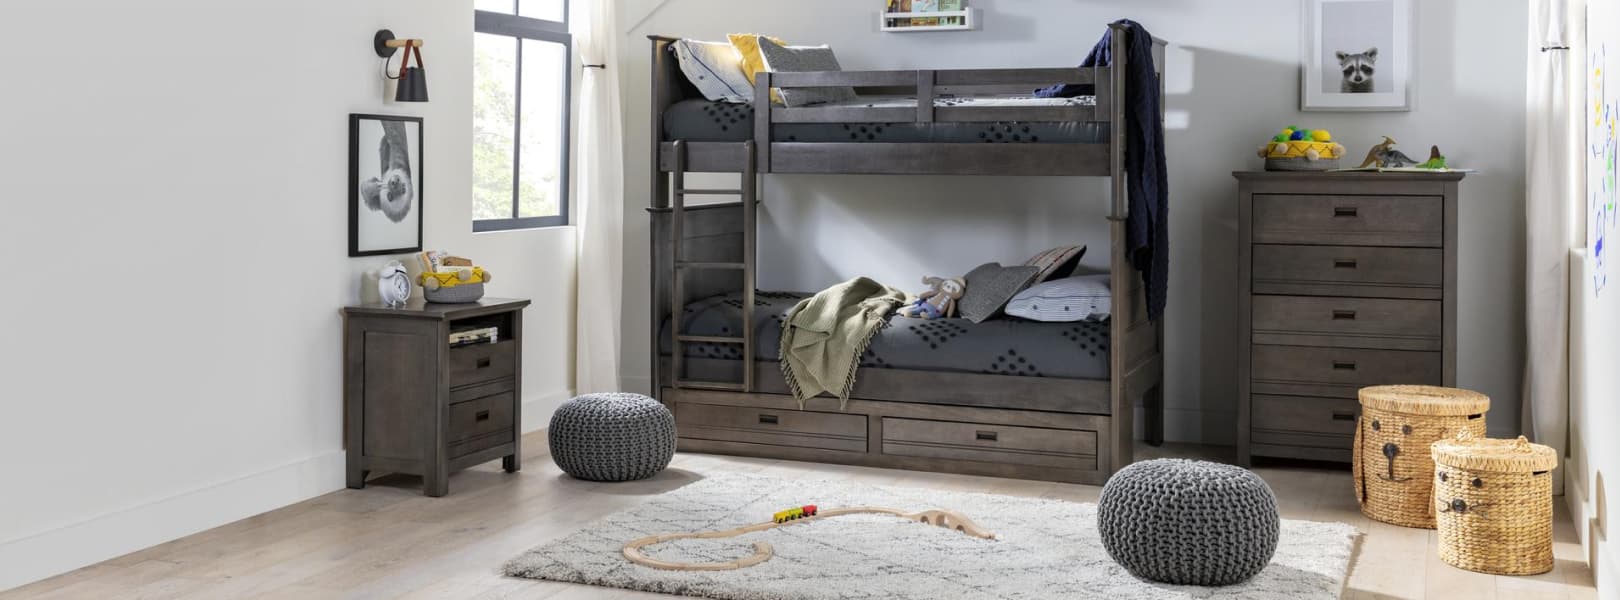
How to Separate Bunk Beds: Creating Space and Style
Assessing Your Needs
Before diving into the process of separating bunk beds, take a moment to assess your needs and envision the end result. Consider factors such as:
-
Who will be using the separate beds?
-
How much floor space do you have available?
-
What is the desired aesthetic for the room?
Understanding your specific requirements will help guide your decisions throughout the separation process.
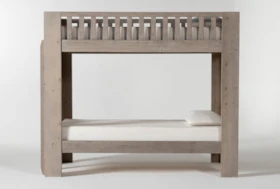
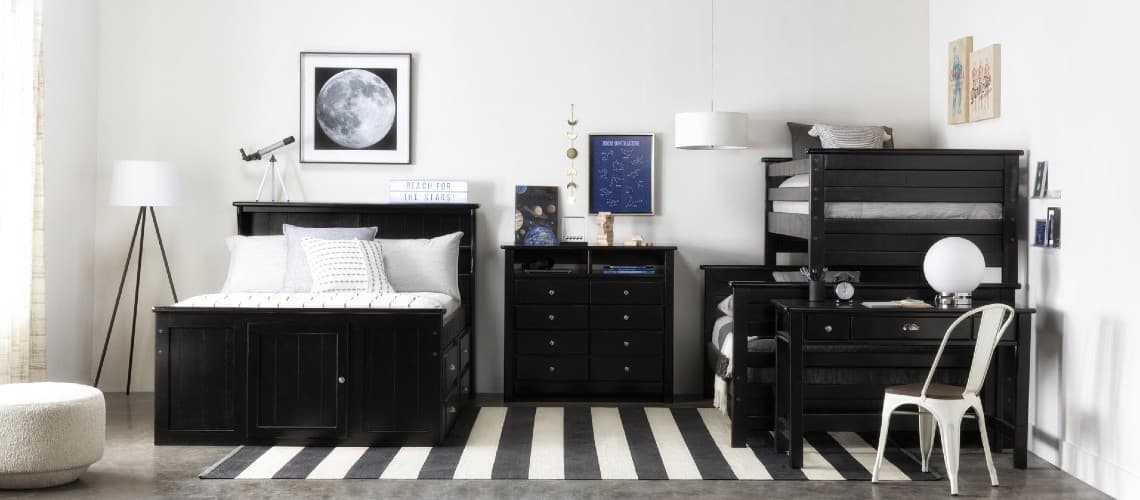
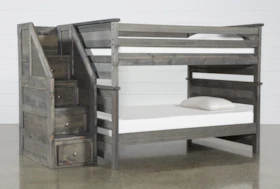
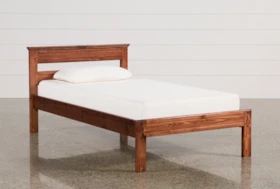
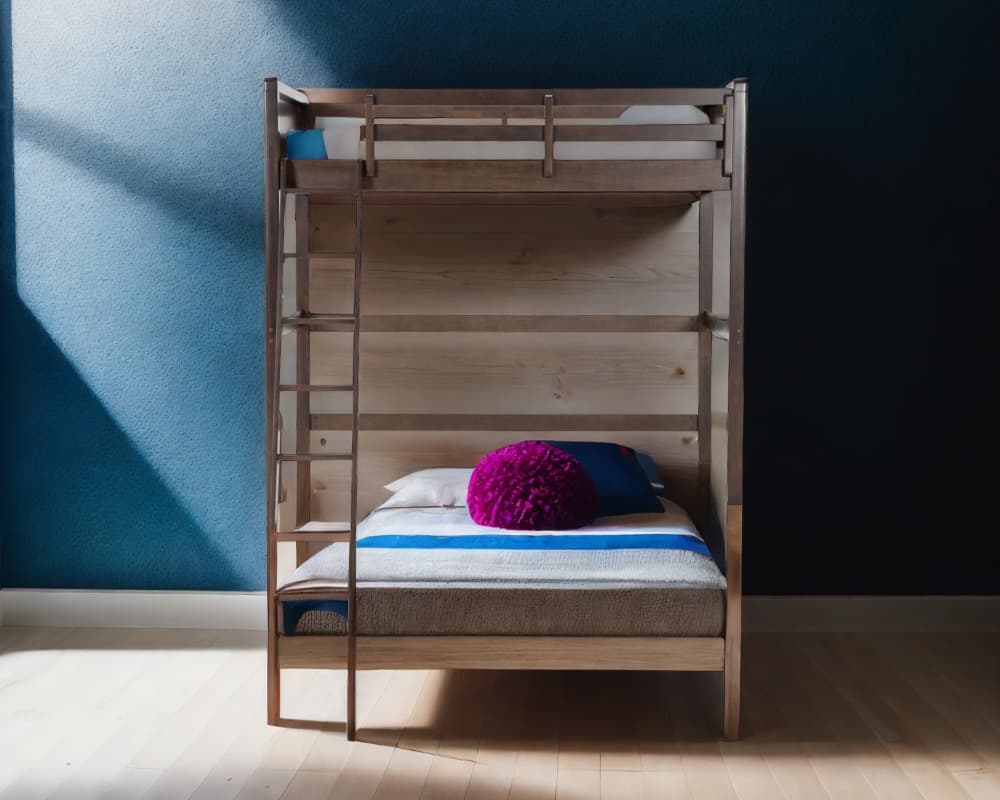
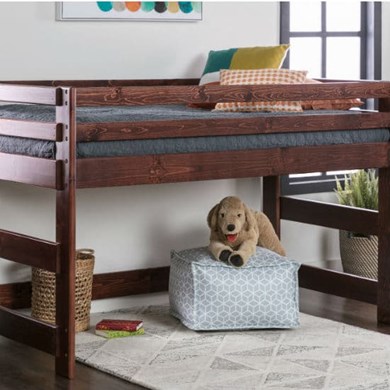
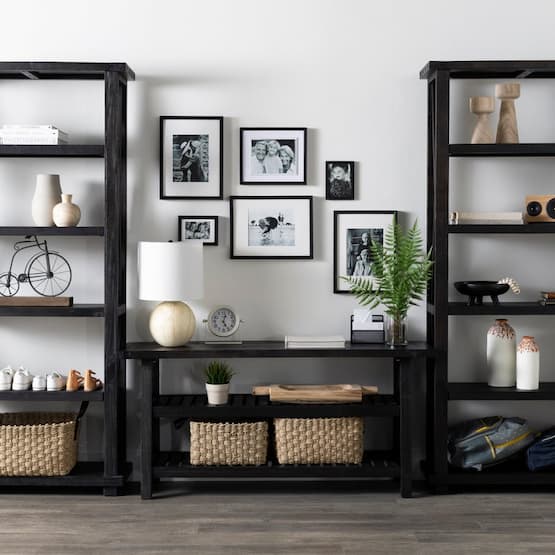
Beds With Built-In Ladders


Safety First: Disassembling the Bunk Bed
Safety should always be a top priority when working with furniture, especially when it involves disassembling bunk beds. Follow these steps to ensure a safe and successful separation:
-
Clear the area: Remove any bedding, toys, or personal items from the bunk bed. This will make it easier to access all parts of the bed frame.
-
Gather tools: Depending on the type of bunk bed you have, you may need an Allen wrench, screwdriver, or other basic tools.
-
Consult the manufacturer's instructions: If available, refer to the original assembly instructions provided by the manufacturer. These instructions will guide you through disassembling each component properly.
-
Start from top to bottom: Begin by removing any safety rails, footboards or additional attachments from the upper bed top bunk. Carefully unscrew or detach them according to the manufacturer's instructions.
-
Remove ladder: Detach and set aside any ladders that are attached to either side of the bunk bed.
-
Disassemble the frame: Proceed to disassemble the bed frame, starting with the top bunk and working your way down. Carefully remove screws or bolts while keeping track of each piece.
By following these steps, you can disassemble your bunk bed safely and effectively, preparing it for the next phase of separation.
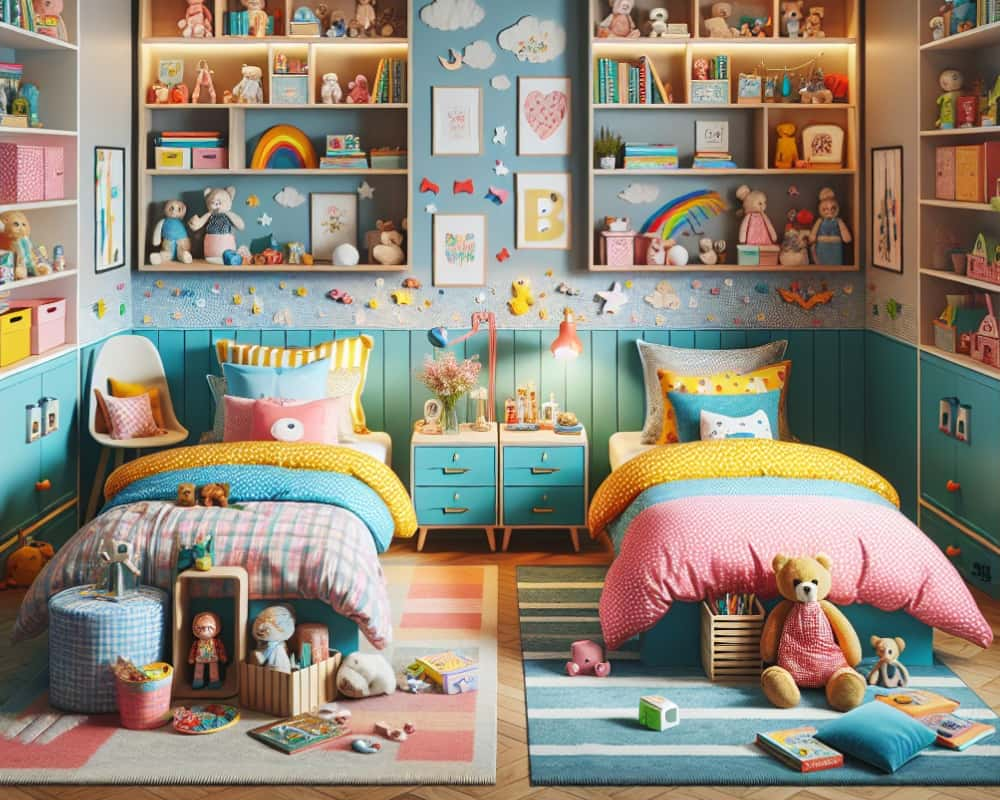
Redesigning the Space: Individual Bed Placement
Once you've successfully separated the bunk beds into individual components, it's time to rethink the layout of your space. Consider these tips for placing the newly separated beds:
-
Floor plan: Take measurements and create a floor plan to visualize different placement options. This step will help you determine how to best utilize the available space in the room.
-
Symmetry or asymmetry: Decide whether you prefer a symmetrical arrangement with both beds aligned parallel to each other or an asymmetrical setup that allows for more flexibility in room design.
-
Focal point:Consider creating a focal point within each sleeping area by positioning beds against a statement wall or using decorative elements such as canopies or headboards.
-
Functional additions: If there's enough space, incorporate functional additions like nightstands, shelves, or seating areas near each bed to enhance usability and personalization.
Remember that this is an opportunity to exercise creativity and make individual sleep spaces truly unique.
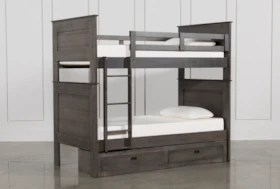
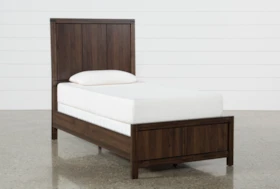
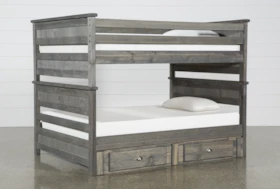
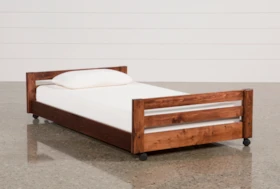
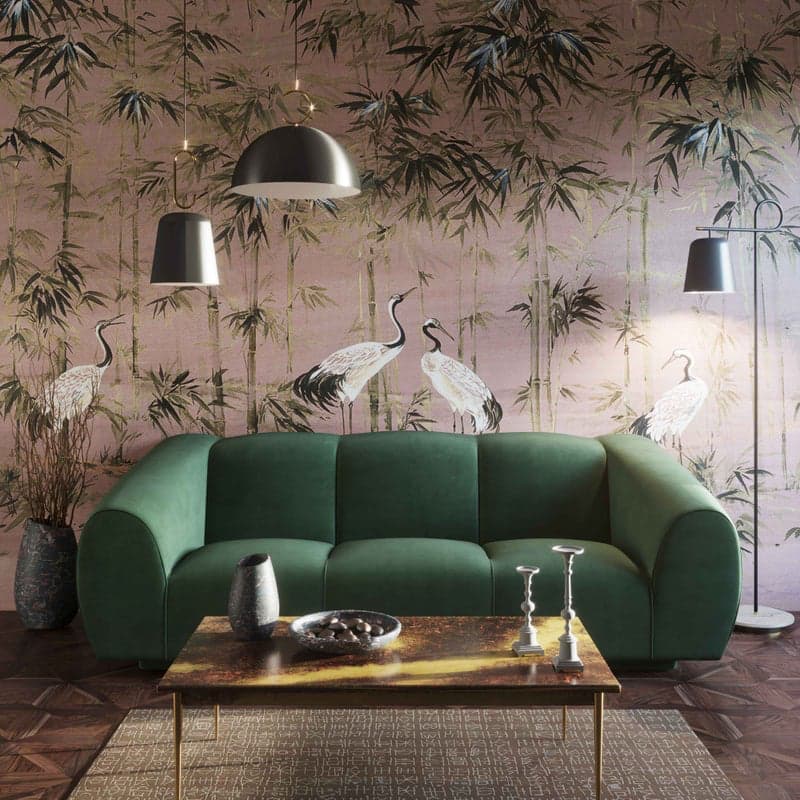
Light Brown + Espresso Beds


Designing Individual Sleeping Areas
With the beds placed in their new positions, it's time to focus on designing distinct sleeping areas. Here are some ideas to inspire your creativity:
Color schemes and themes
Choose complementary color schemes or themes for each separate sleeping area. Opt for soothing tones in one space while embracing vibrant hues in another. Aligning color choices with personal preferences can add character and make each area feel special.
Personal touches
Encourage those who will be using each bed to personalize their space with cherished belongings, artwork, or photographs. These personal touches will create a sense of ownership and comfort.
Privacy solutions
If privacy is desired, explore options such as curtains, dividers, or room dividers to create individualized spaces within the larger room. These solutions can provide a sense of privacy while still maintaining an open and airy atmosphere.
By incorporating these design elements, you'll be able to transform the bunk beds into unique and personalized sleeping areas.
Optimizing Functionality: Storage Solutions
Separating a bunk bed in a child's room also presents an opportunity to optimize storage solutions. Here are some ideas to consider:
-
Under-bed storage: Utilize the space underneath each bed by incorporating storage drawers or containers. This allows for easy organization of clothing, toys, or extra bedding.
-
Vertical storage: Install shelves or wall-mounted organizers near each bed for books, alarm clocks, or personal items.
-
Functional furniture: Consider adding a small desk or seating area near each separate sleeping area to maximize functionality and create dedicated study or relaxation zones.
These storage solutions will not only help declutter the space but also enhance its overall functionality.
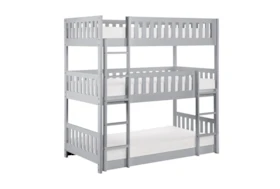
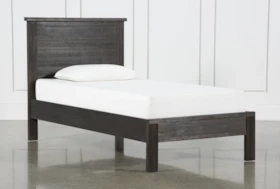
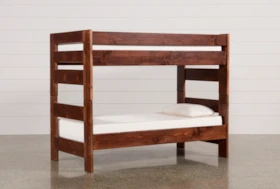
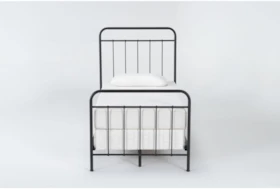
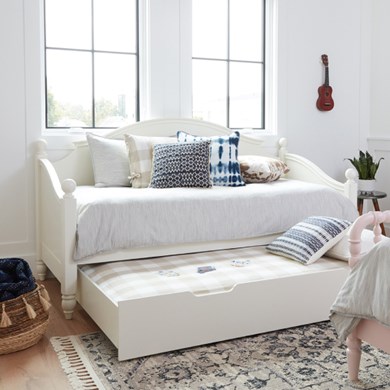
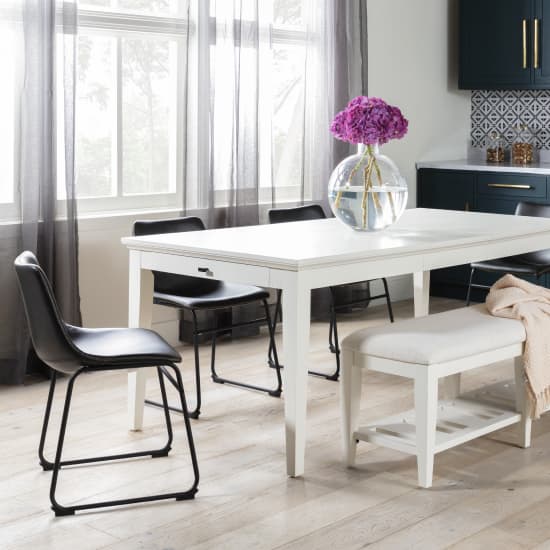
Beds With Full-Length Guard Rails


Conclusion: Embracing Individuality in Shared Spaces
Separating bunk beds requires careful planning and consideration. By prioritizing safety during disassembly, redesigning the space thoughtfully, designing individual sleeping areas creatively, and optimizing functionality with smart storage solutions, you can successfully transition from shared sleeping arrangements to distinct personal spaces. Embrace the opportunity to foster individuality while still maintaining a cohesive and stylish room design. With these steps as your guide, you'll create separate beds that cater to both practical needs and aesthetic preferences in your home.
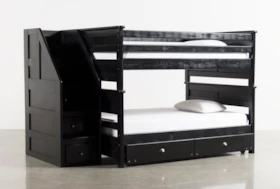
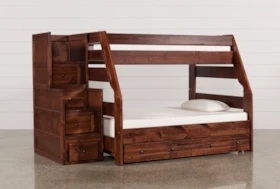
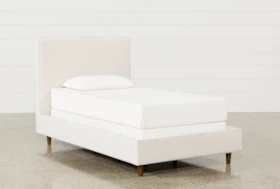
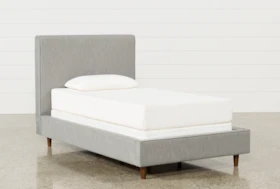
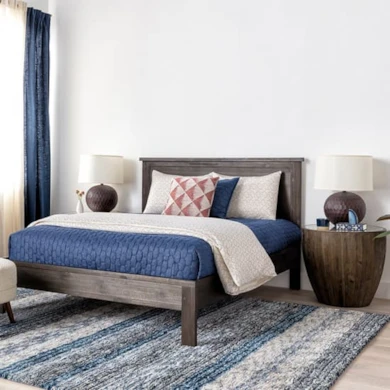
Single Styles for Rooms With Two Separate Beds


Need to Separate Bunk Beds? Consider These Options:
Separation isn’t always the answer. Try two twin beds, a loft bed or a captains bed to solve unique problems.
Read the Latest

Editorial Disclaimer: Articles featuring tips and advice are intended for educational purposes and only as general recommendations. Always practice personal discretion when using and caring for furniture, decor and related items.

