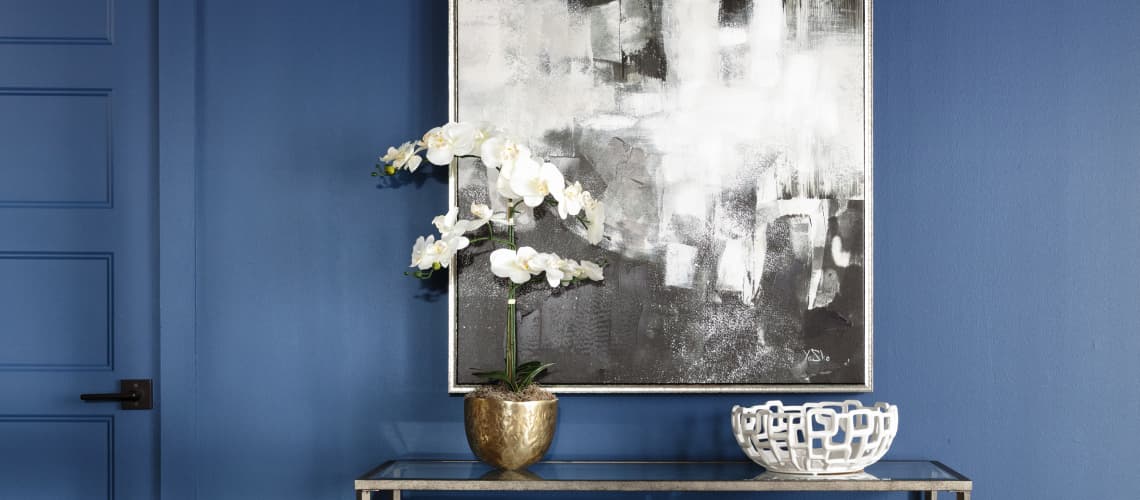
How to Arrange Flowers in a Vase Like a Pro
Cut the Stems Correctly
Store-bought or home-grown, there's nothing quite like fresh flowers to enliven your home. When you set out to arrange your flowers yourself, there are a couple of things to keep in mind to get the best results.
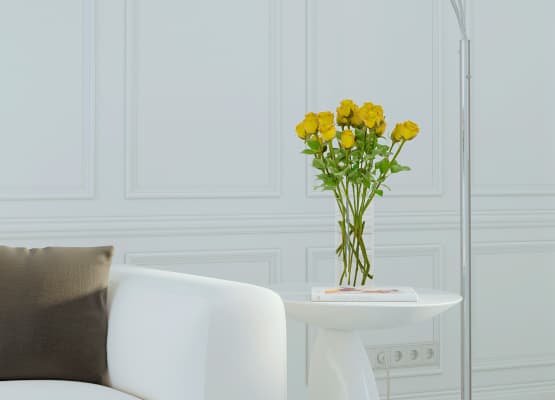
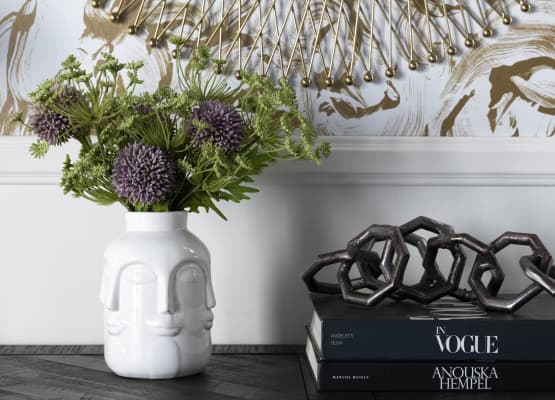
First, you should measure the vase you selected so you know how long to cut the stems. Make the initial cut a bit longer than needed. Next, cut the stem at a 45-degree angle about an inch from the bottom. This increases the surface area that makes contact with the water.
If the stem is woody or thick, use garden shears instead of scissors to avoid crushing the stem. Place your cut flowers into a clean, water-filled vase immediately. Better yet, make the final cut underwater before you arrange the flowers!
Prolong the Life of Your Fresh Flowers
There's nothing sadder than watching your pretty bouquets wilt before your eyes. Fortunately, there are a few things you can do to make your flowers last longer:
- Remove all the leaves below the waterline.
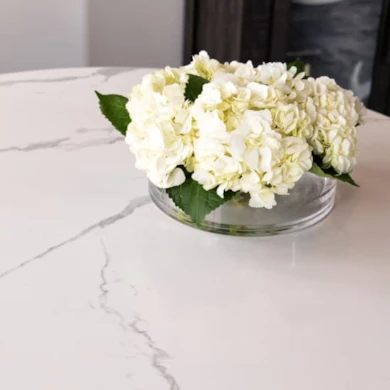
- Choose a low vase for heavier blooms for better support.
- Place in a cool area, away from direct heat, sunlight, and drafts.
- Mist your flowers with water.
- Keep the vase filled with water. Change the water and trim the stems every few days.
- Feed your flowers. Buy a quality plant food or DIY with a recipe like this one: mix two aspirin tablets, one teaspoon sugar, and a few drops of bleach into a quart of water.
If you notice your flowers start to fade, try these tips to help revive them. Well-cared-for flowers can last a week or up to 12 days!



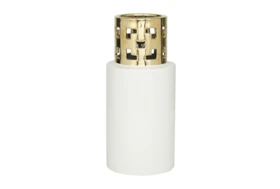
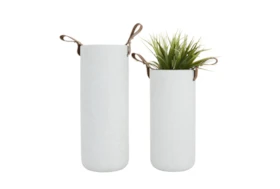
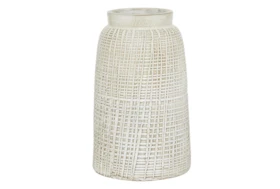
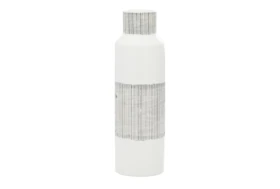
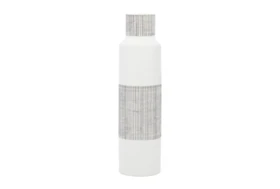

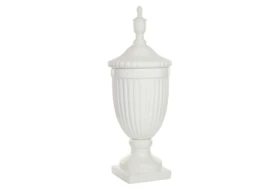
Techniques to Create Breathtaking Arrangements
Part of the fun of making your own floral arrangements is that you get to experiment with classic looks or do something totally new and unique! That said, there is a basic structure you can follow to achieve great results every time.
Start by planning out a design and selecting your flowers. You may want a monochrome look, a few complementary colors, or a riot of hues.
Now you can get your vase ready. Make sure it is clean and then use floral tape to make a grid over the opening. You will place the stems in the holes to hold them in place and keep your arrangement looking full.
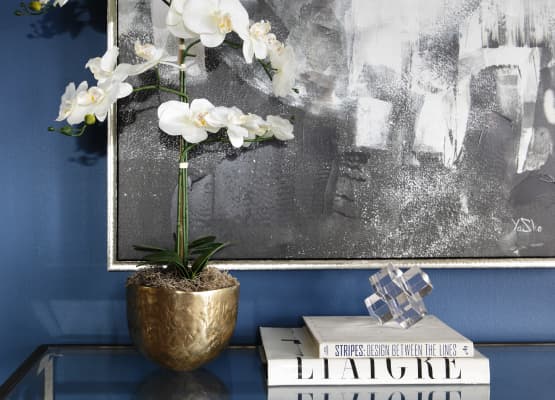
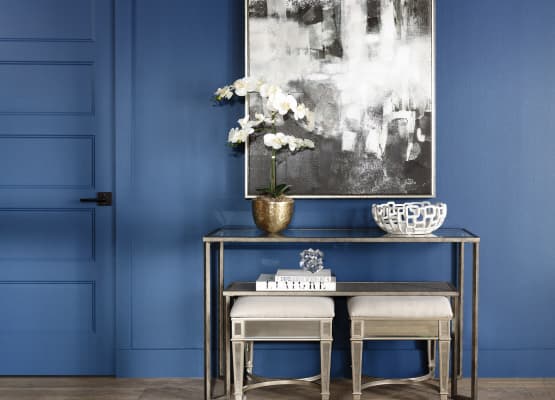
Add the greenery first. Cut your stems at different lengths so your arrangement has varying heights and is not flat. Next, place your statement flowers in prime spots. After that, you can fill in with the rest of the blooms. If you like, finish off with accents of a delicate and airy blossom such as baby's breath.
If you select artificial flowers for your bouquet, you will follow the same basic steps with only a few minor changes: you can opt for floral foam or even clay at the bottom of the vase to hold the stems firmly in place, and remember to use wire cutters to trim the stems to the desired length and fluff the petals occasionally.
Fresh-cut or silk, flowers make you feel happier and provide a warm welcome for your guests. So – grab a favorite vase, and put your new skills to work today!





— More Great Articles —

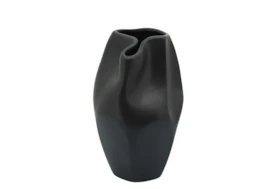
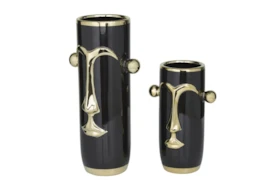
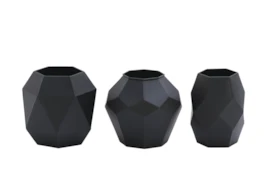
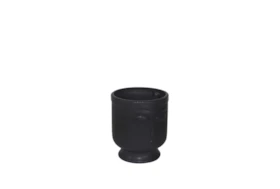
Vases for Flower Arrangements
Read the Latest


Editorial Disclaimer: Articles featuring tips and advice are intended for educational purposes and only as general recommendations. Always practice personal discretion when using and caring for furniture, decor and related items.